2. Prepare 3D printed parts
Table of contents
Tap mounting adapters
Tap the Arduino and WAV Trigger mounts with #4-40 threads. Four locations per mount, as indicated with the yellow circle below: 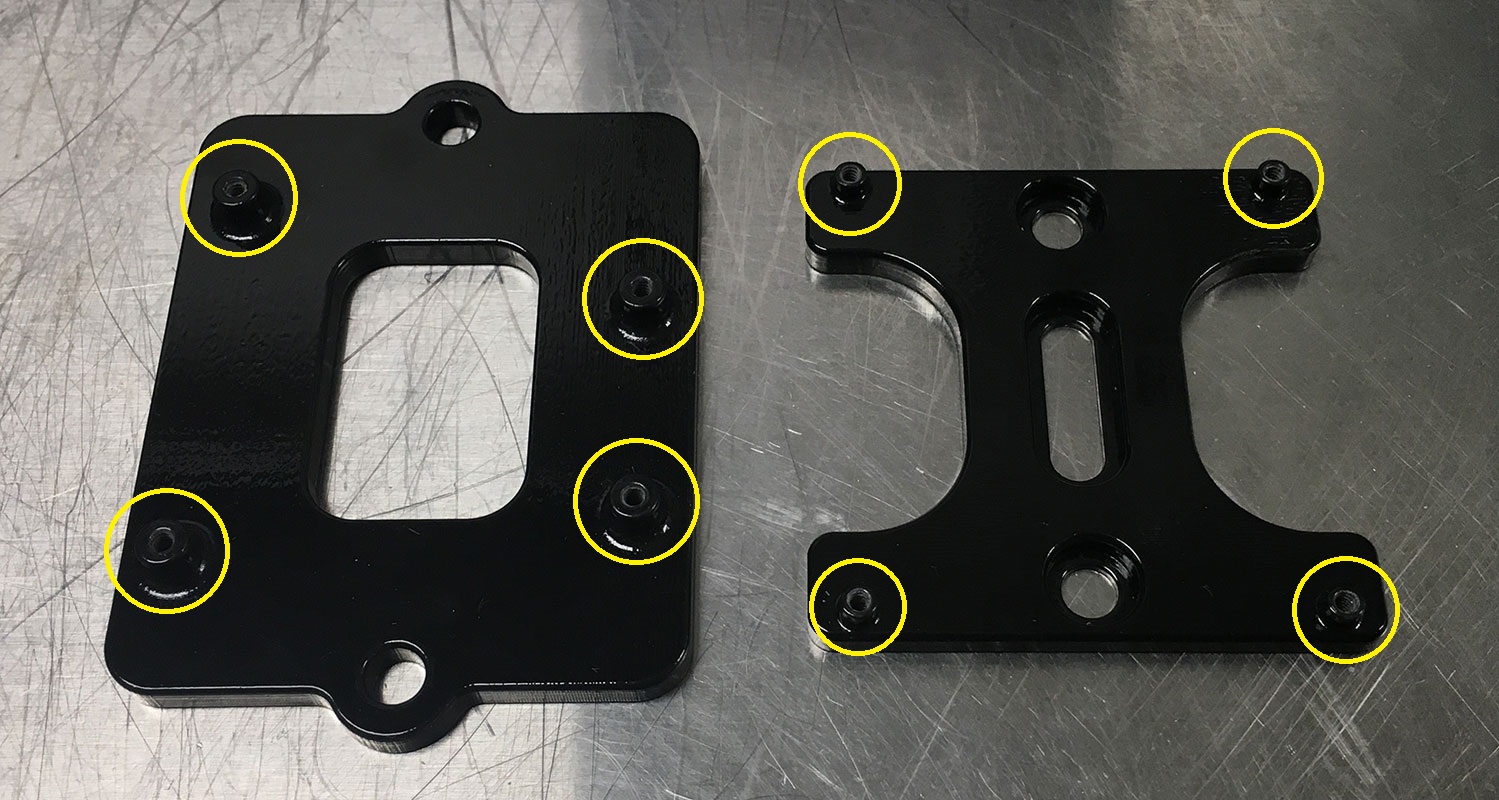 .
.
Next, tap the side of the BNC panel mount with #8-32 thread. You’ll need two pieces per setup: 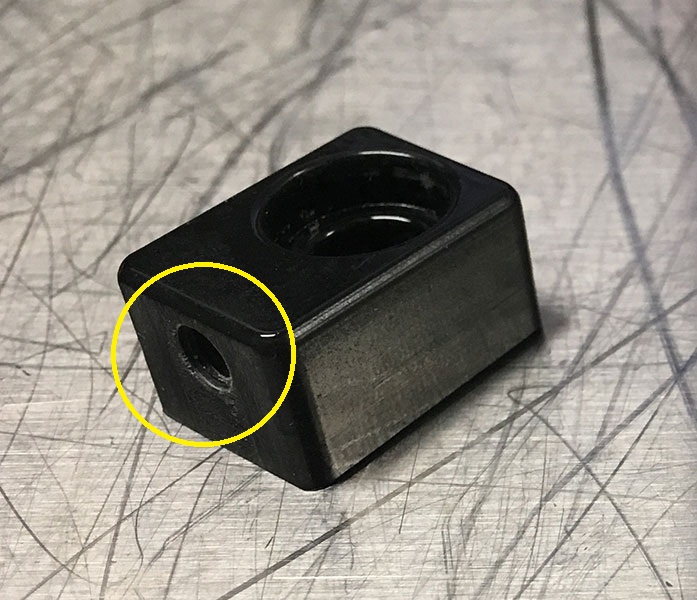
Assemble the encoder and wheel
Insert a #8-32 nut into the slot of the encoder mount. This allows you to connect the mount with a standard Thorlabs 1/2” diameter post: 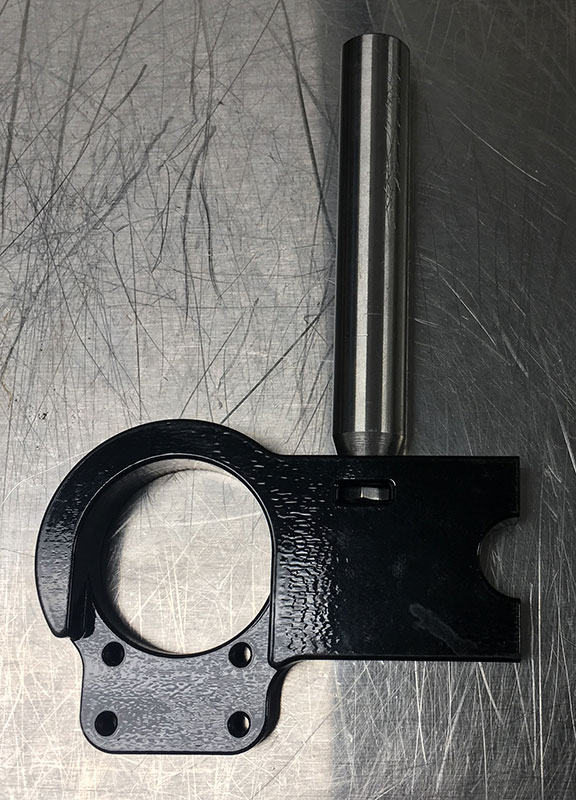
Next, mount the HB5M encoder using four #4-40 screws: 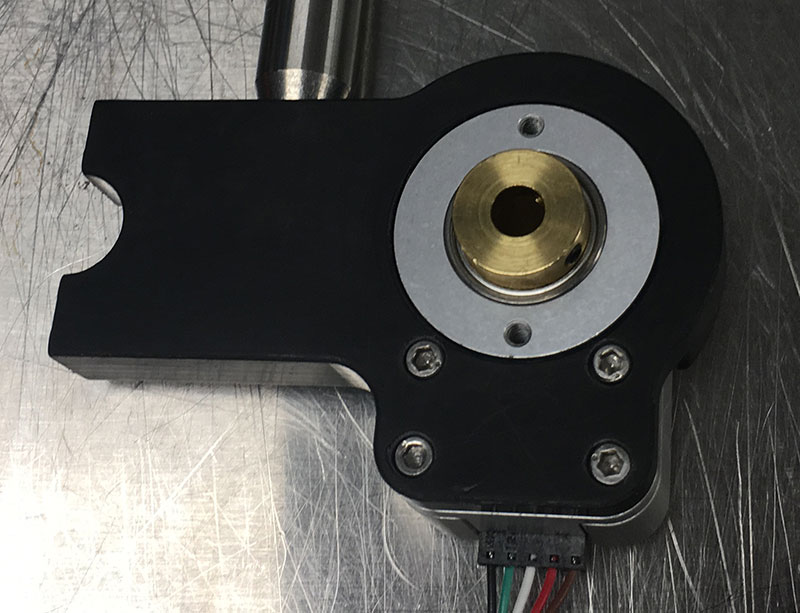 .
.
Thread the “side” holes of the wheel adapter with a #4-40 tap, as shown below: 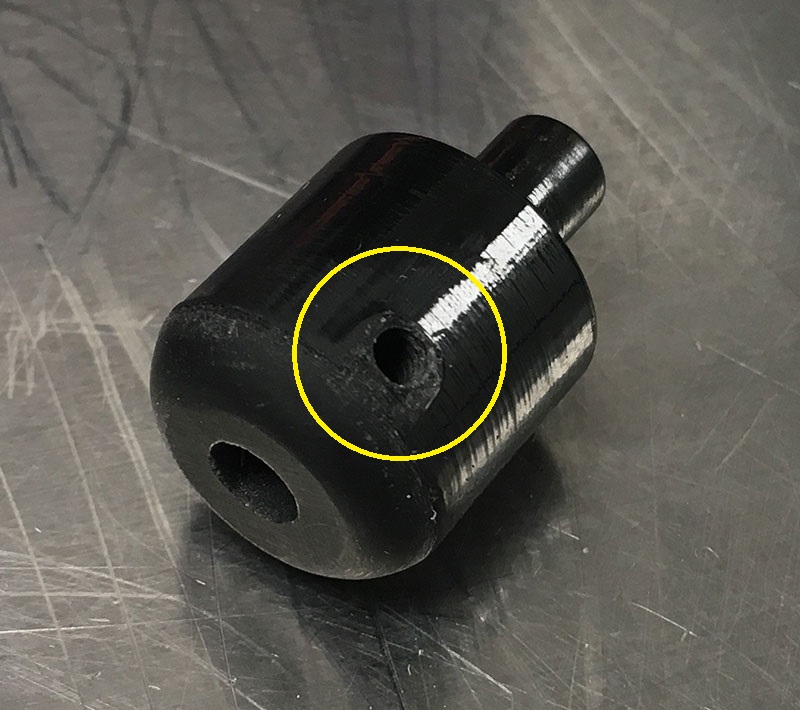
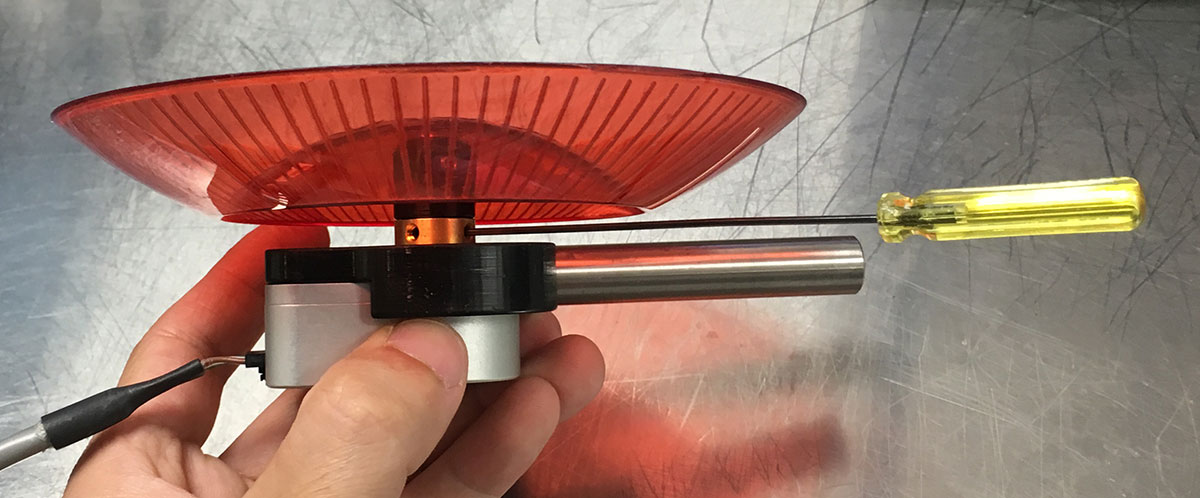
Use a #4-40 set screw to secure the wheel adapter to the stem of the InnoVive wheel: 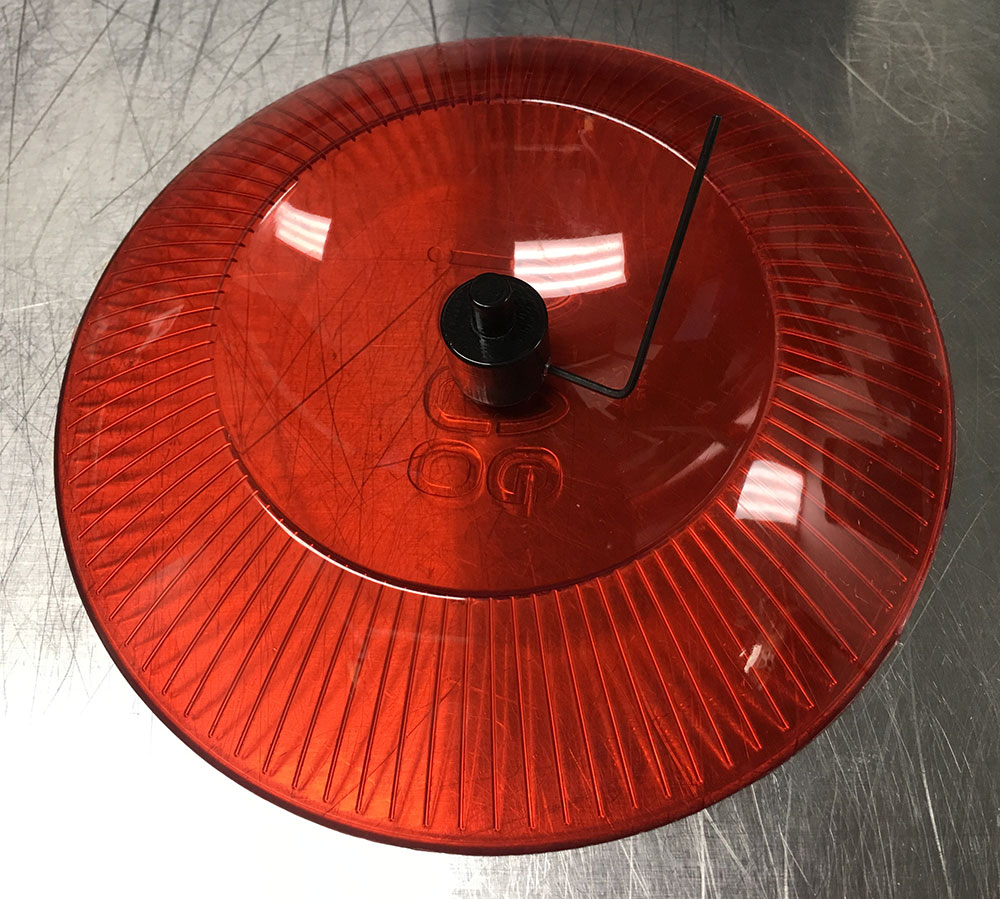
Finally, secure the wheel and adapter to the encoder by using the set screws of the encoder: